The Running Doe

Hunt Squat Inspire Repeat

Practice, Practice, Practice

Practice Makes Progress Not Perfection

A Successful Archery Season Requires More Than Just A Pretty Bow

To have a successful bowhunting season you’ve got to put in the time to practice shooting your bow from comfortable yardages but also from the distances that are not so comfortable.

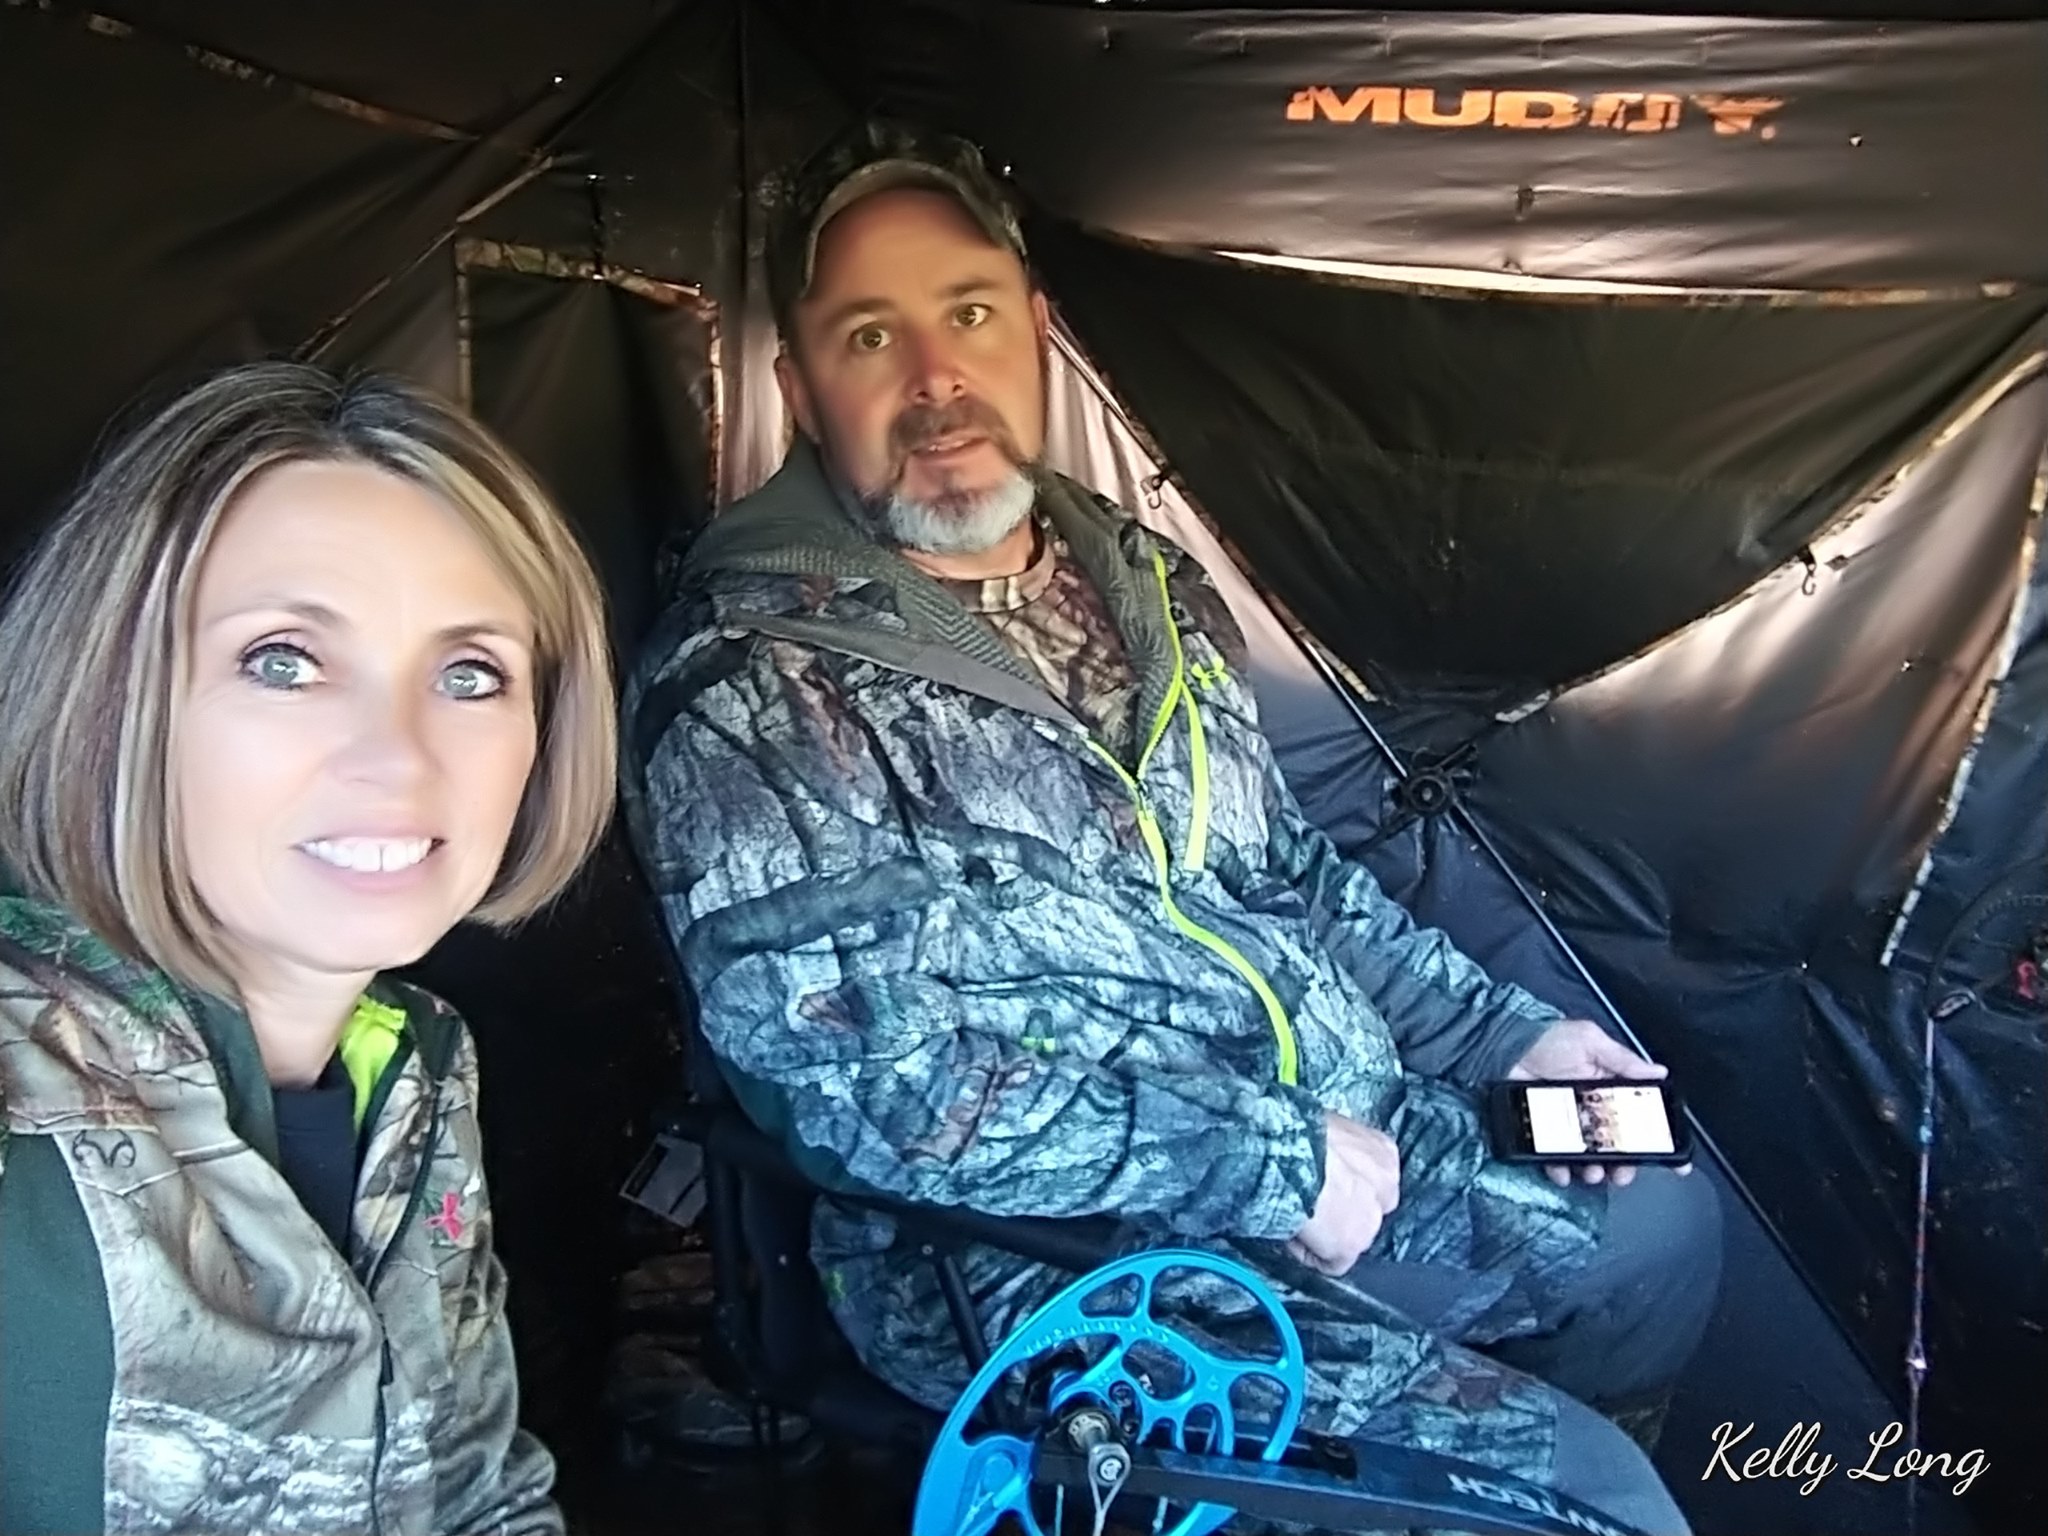
With the close of last year’s archery season and the warmer days coming in like a hard rain, literally, I am finding myself thinking about NEXT archery season.   In our household, not only do we hunt as a family but we also practice as a family.    Generally, we get really excited thinking about preparing for the next “round” of hunting and we start practicing and putting in countless hours of flinging arrows. 

Hunting for us is serious business.

Bow Tournaments Are A Great Way To Get In Some Extra Practice

One way we get in some practice, and my favorite way, is shooting bow tournaments.   As a rule, it’s my job to get online and seek out shoots that are close in proximity to our house.  For us, the 3D target shoots are best because you are actually using targets that look like the animals and the vitals are clearly marked to really help you know where on the animal you need to fire that arrow. 

The best place I have found to find a shoot near you at the website 3DShoots.   The website is easy to navigate through, making finding a tournament for your family a piece of cake.

Bow tournaments are actually a lot of fun and if you get a group together, it makes it even more enjoyable.  If you’ve never been, you definitely need to try it out. 

There are several of us in our family that shoot bows and getting up early on a Saturday morning to shoot a tournament is usually the ONLY way I can get three boys up without struggle…unless they’re getting up to go hunting of course.   Once we’ve up, though, we’re ready to put the hammer down on each other. 

It’s competitive in our family and I mean competitive.    But once we shoot at the first target all bets are off and we’re all on our own.  

 There are usually 30 to 40 3D targets at the bow shoots.  Normally you go through half of them and then come back for the second half.   There is absolutely ZERO stress during the competition.  It’s a laid back atmosphere and you meet a ton of new people.  Really the only stress you encounter is with your own family. 

Practice Doesn’t Make Perfect. It Makes Progress.

I am very competitive in bowhunting but mostly with myself.  And let me tell you that the day is ruined, and everyone else’s, if I lose an arrow.  It’s not uncommon for me to lose one per tournament.  I might mention that I have gotten better about hurling an arrow into the abyss of no man’s land…never to be found again.   Over the years I’ve stock piled up and now have quite an arsenal of arrows so if I lose one (or two) it’s okay.  

All in all, tournaments give you a lot of quality practice and after several hours of walking around and laughing,  you don’t even realize you’ve shot forty times.  It’s a ton of fun.

Working Out Is Another Way To Prepare For Bow Season

Another way I get ready for bow season is running and working out.  I used to run anywhere from 3 to 5 miles a day getting my heart rate ready for those long treks through the woods.  But this year I’ve changed it up by lifting weights to increase my strength. My goal is to increase the poundage on my bow.

I also, occasionally, use an AccuBow Bow Trainer.  I love my Bow Trainer.  It’s a rubber band system that allows you to strengthen the muscles needed to pull back your bow easily and without injury.  In the past, this method has actually allowed me to increased my poundage so I would definitely consider it to be an important tool. 

Backyard Targets Work Perfectly For Getting In That Extra Shooting Time

This poor old deer target had seen better days but let me tell you that not only was it my FIRST target but it was where I got my most practice in the very beginning of my bowhunting journey. I can’t stress enough how important muscle memory is and how crucial it is for proper arrow placement when that deer comes in range.

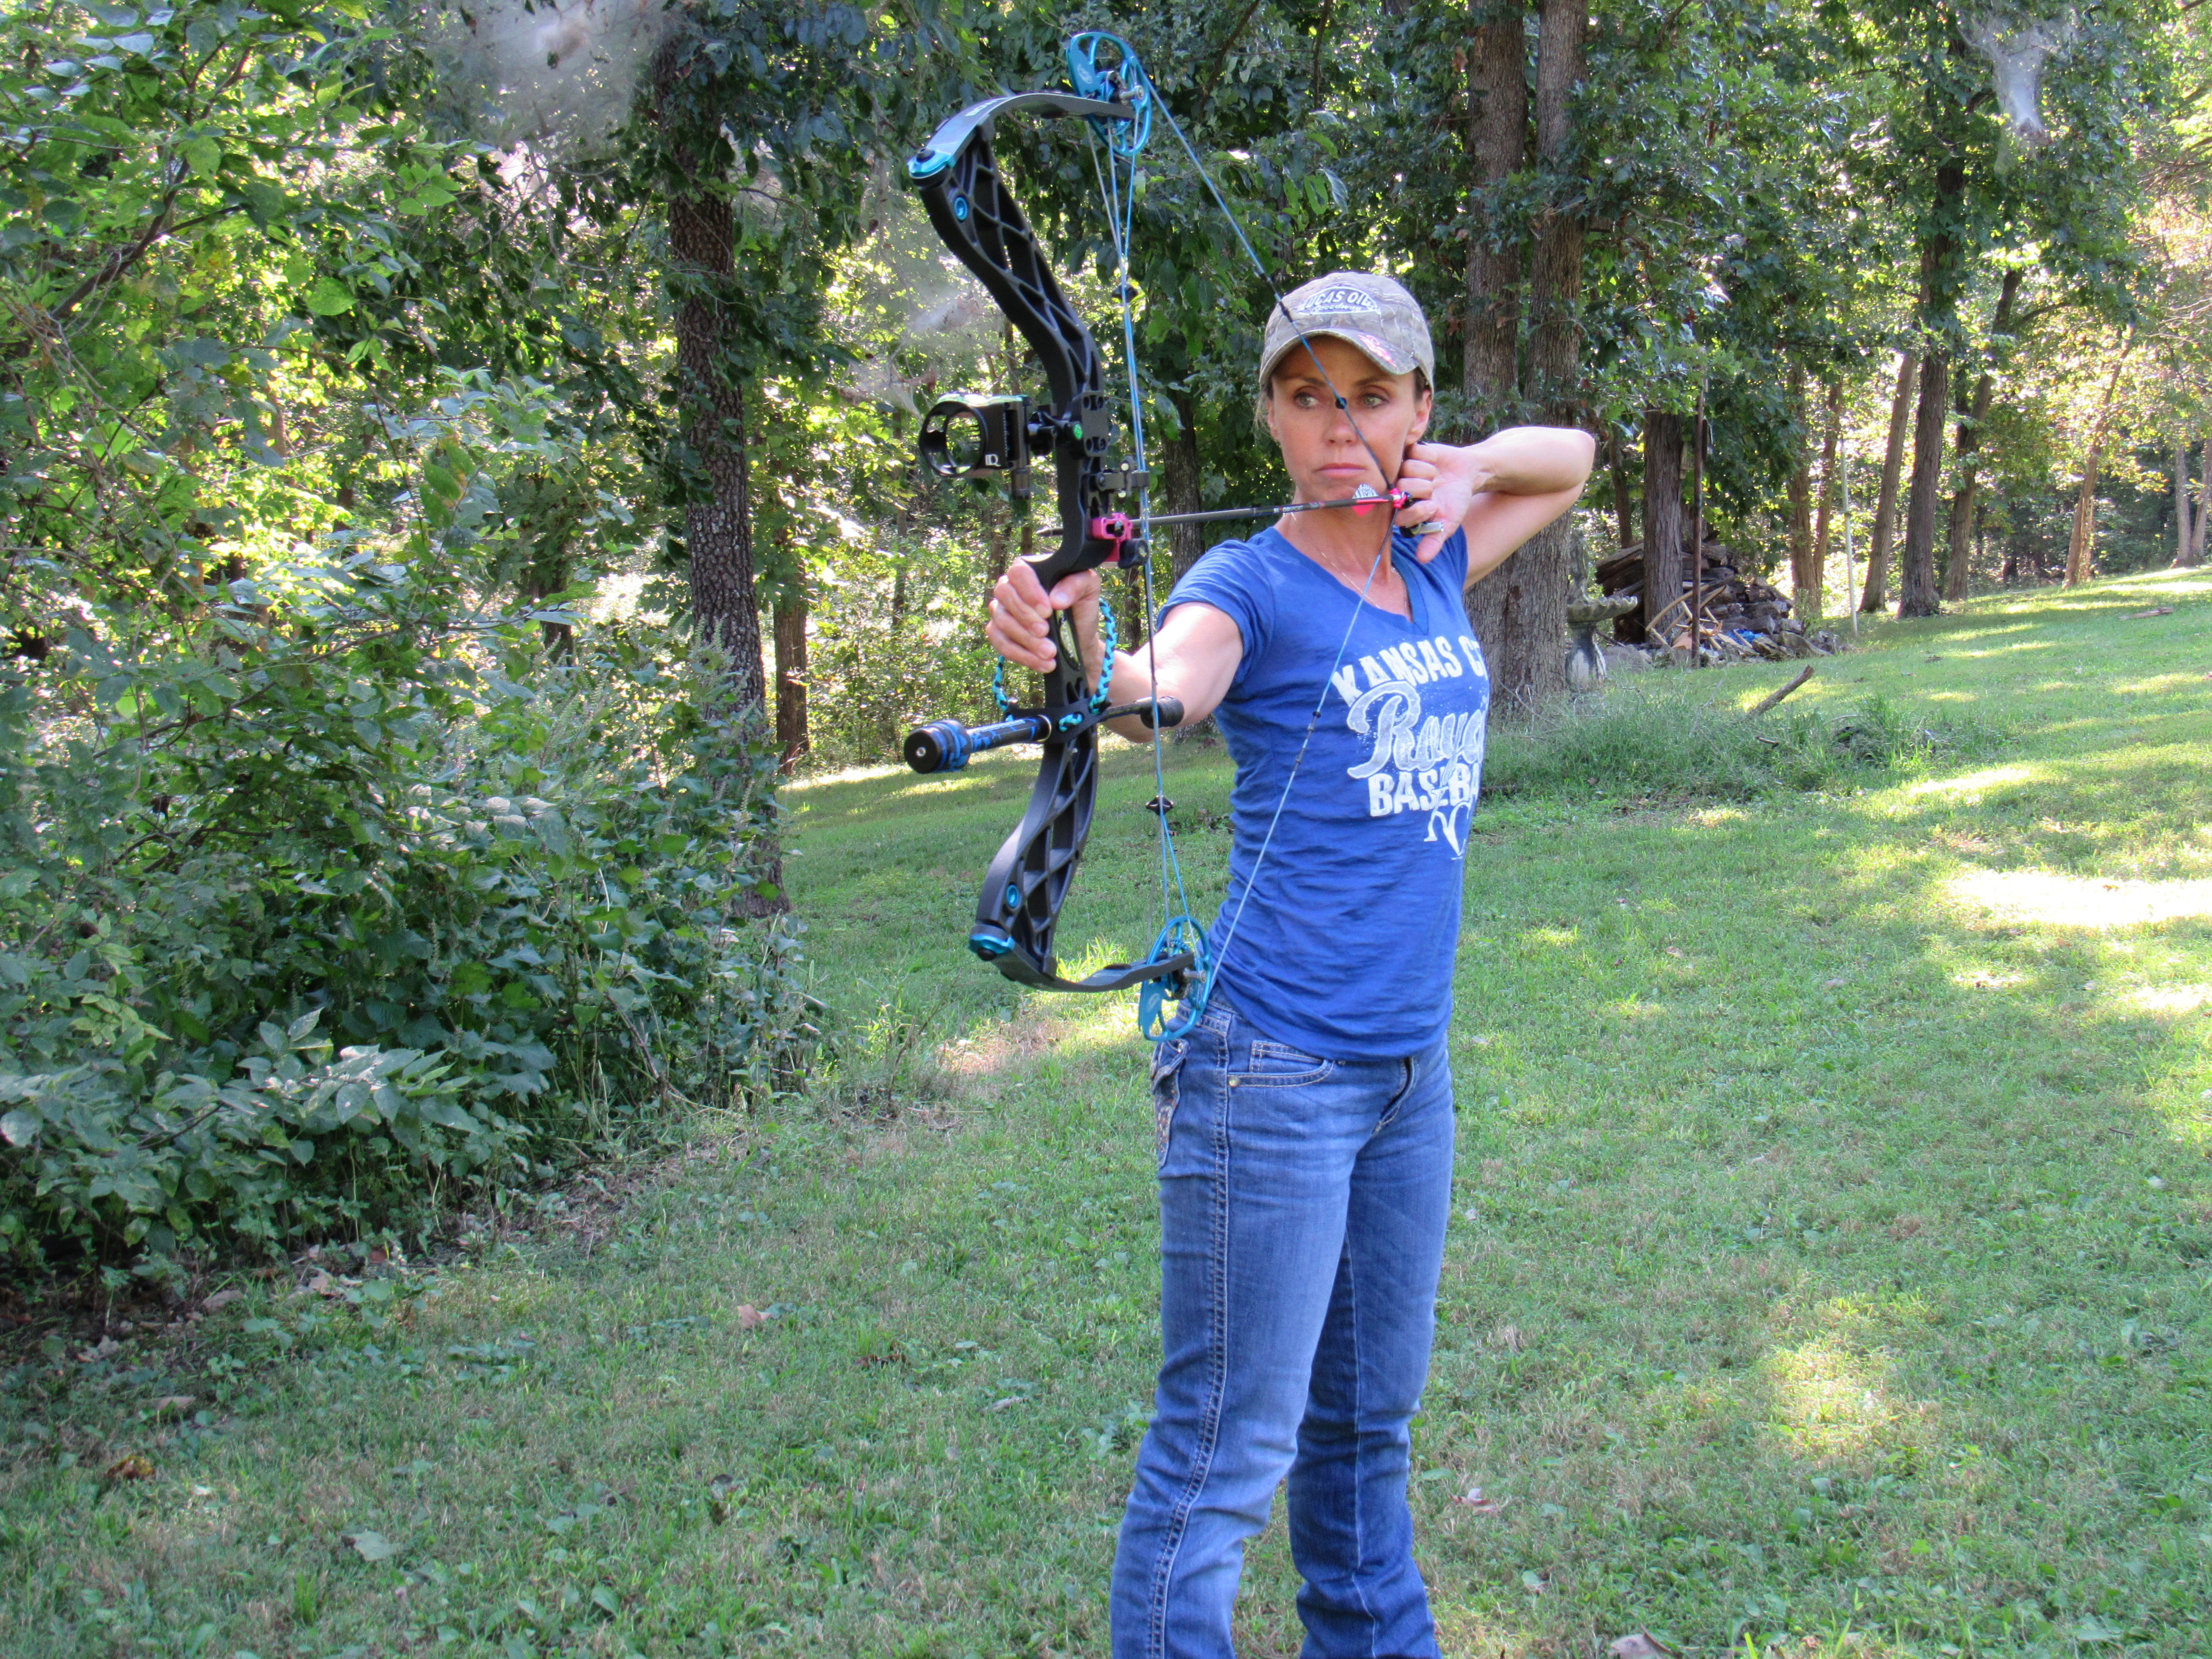
Put up targets in your back yard and you will have 24/7 access to them.  We’ve actually done that and normally at least one of us daily will go back there and take anywhere from 20 to 30 shots just to keep loosened up.  We’ve even been known to have competitions amongst ourselves just for the fun of it.   There are some good climbing trees not too far from the targets and we’ve also put our climbers up and shot out of them for even more practice. 

The possibilities are endless of what you can do to get in some good old fashioned practice. Whatever you do, don’t get discouraged and give up. It’s a constant work in progress. But you’ve got to put the work in. But when you’re out there practicing and having fun it doesn’t seem like work at all. That’s just the way I like it.

Cleaning Your Essential OIl Diffuser

Step by Step: Cleaning Your Essential Oil Diffuser

Step by Step Cleaning For Your Essential Oil Diffuser


Who else is obsessed with essential oils?  If you’re like me you can’t get enough of them.  Diffusing essential oils is one of the easiest and most effective ways for you to aromatically reap the benefits of your favorite oils.  However, over time, an oil build-up will develop inside your diffuser.   Cleaning your diffuser can prevent it from clogging up and possibly malfunctioning.  It’s important to know how to properly clean and take care of your unit in order to extend the life of the essential oil diffuser,  as well as your enjoyment of it.

Cleaning Tips

Once-A-Week Quick Clean

  1.  Always make sure that the diffuser is unplugged.
  2.  Pour out existing water in the diffuser.
  3.  Using a tiny amount of detergent (avoid harsh cleaners)and a soft cloth, clean out the inside of the diffuser, avoiding the ultrasonic mist chip in the middle.
  4.  Use a Q-tip with alcohol to clean the ultrasonic mist chip very carefully.
  5.  Rinse the inside with water and then dry.
  6.  Clean the outside of the diffuser with a wet cloth and dry thoroughly.
  7.  You can remove the top of the diffuser and wash it in warm soapy water.  Rinse thoroughly and dry completely.

Once-A-Month Cleaning

Periodically it’s necessary for you to perform a deep cleaning on your diffuser similar to the monthly cleaning cycle you do on your coffee pot.   If you use your diffuser every day, as I do,  it’s a good idea to run it through a monthly cleaning cycle to remove the residue build-up.

  1.  Again, make sure your unit is unplugged before cleaning it.
  2.  Fill your diffuser halfway up to the red indicator with clean water.  (I use bottled   water because we have well water and it has lime in it.)
  3.  Add 7 to 10 drops of white vinegar.
  4.  Plug the diffuser in and let it run for about 10 minutes.
  5.  Drain the water.
  6.  Using a Q-tip with vinegar on it, carefully wipe inside, getting around the corners.
  7.  Rinse thoroughly and dry completely.

You’re then good to go!

Although you have to consciously remember to perform this occasional cleaning, it’s so important for prolonging the use of your essential oil diffuser.   A simple procedure can literally “make or break” the lifespan of your unit.


Happy Cleaning!

The best hunting advice you can get you should probably take versus not listening to it

The Best Hunting Advice Received And Not Listening To It

Why It’s Important To Wait After Executing A Shot In Bowhunting Rather Than Jumping The Gun

I won’t even pretend that I am a quick learner at anything. It’s normally through my vast mistakes that my most rewarding lessons have occurred. This applies to every area of my life.

women who bowhunt with their hunting husband's in a blind usually get the best advice

From dating the wrong guys in high school to choosing a bad hair cut that can’t grow back fast enough, or just simply trusting the wrong person to confide in. I have made my fair share of bad choices against the advice of well-meaning family and friends. But one thing is for sure. I have always received my best hunting advice from the one person I know is an expert in the field. He’s not only my hunting buddy. He’s my hunting husband.

As it is with everything, the best advice usually comes after the biggest mistake. This stands true with bowhunting as well. One of the greatest pieces of advice my hunting mentor, and my biggest fan, ever gave to me came AFTER one of the most significant mistakes of my bowhunting history.

If I had heard it once I had heard him tell me a hundred times. “If you make a shot WAIT for at least 30 to 45 minutes BEFORE getting down from your treestand to begin tracking your deer.”

The best hunting advice helps with tracking your deer your husband to the lake

You’ve noticed that I capitalized WAIT and BEFORE because I had heard him say that so many times over the years. I KNEW to do this but because I am an impatient soul and have a hard time sitting for long periods in the treestand at all, I needed it tattooed on my forehead to get the point across.

I have always received my best hunting advice from the one person I know is an expert in the field. He’s not only my hunting buddy. He’s my hunting husband.

Not heeding to good, sound advice can sometimes cost you if you don’t take it to heart and put it into practice. By not following my husband’s rule of thumb, it almost cost me finding my buck.

Old Habits Die Hard

It was in the middle of archery season. I had been playing tag with a certain eight-pointer that had shown up on our trail camera multiple times.

Up to that point, I had never had the chance at a shooter buck, and I had my heart set, THIS PARTICULAR SEASON, on him. He was the one. I wanted to harvest HIM.

I would get to my stand early and leave in the dark. In the morning hunts, I would walk out there in the pitch black, feeling my way up the ladder stand with nothing more than my Bushnell headlamp on my head.

I did this every day. I did this for weeks.

Until early one Saturday morning when the stars were aligned just right. He came sashaying up from below my stand with only one thing on his mind. He was trailing a doe.

As it is with everything, the best advice usually comes after the biggest mistake.

I’m not going to lie. When you are in your stand and a deer comes within shooting distance, your heart beats faster than it ever has before. Your adrenaline is in overdrive and you begin to tremble and shake.

Maybe not every hunter feels like that. Personally, I get excited, as well as a little nervous, when I know I’m getting ready to take a shot.

He was about 20 yards in front of me when I stood up to draw my bow. Although my memory says he was broadside, looking back at the trail camera pictures proves otherwise.

In the excitement of the moment, I didn’t realize that he was ACTUALLY quartering TOWARD me a little bit. So when I executed my shot into the “vitals” I didn’t get the penetration as I thought. I did get some penetration. However, I also managed to stick my arrow down around his “buck parts” as well. But, I didn’t know this at the time.

BE PATIENT

It’s Always Better To Wait Than To Push

After I shot and he took off running, I did what any non-seasoned hunter would do. I immediately climbed down from my ladder stand to see if there was any blood. Then, I got back UP into my stand to send my husband a text letting him know I had just shot “the buck.”

After texting me back “Good job” he told me to stay put for about 30 to 45 minutes to let the deer lay down and die. To not push him and make tracking the blood easier. In an investigative, hesitant “texting voice” he asked, “You didn’t get down yet did you?” And of course, my answer was “NO?”

The truth of the matter was that I had climbed down SEVERAL times, and then scurried right back UP again.

Because my stand was fairly close to our house, I actually made several trips back and forth in hopes of seeing my dead buck laying there ready to field dress. But that didn’t happen.

My husband and one of our sons were at another farm hunting. I knew it would be a while before they would get there to help me track my deer. A couple of hours passed before they returned home. The first question my husband asked me was “How long did you stay up in your stand before getting down?”

I wanted to lie, I really did. But the trail camera set up in front of my stand had the proof. I had made multiple treks to and fro looking for blood and looking for my deer.

Busted!

My son, husband and I began the search and started with the first drops of blood I had found. It was slow. A drop here and a couple of drops there but nothing substantial. We tracked small droplets for hours, over barbed wire fences and along creek banks. The trail was winding and sparse with blood.

After several hours we came to the conclusion that we were pushing him. We needed to let him lay and marked the last major blood spot we found. We decided to wait until morning.

LISTEN TO GOOD ADVICE

Sometimes getting caught up in the moment overrides any sound hunting advice we’ve been given

I felt devastated. How could I have been so stupid to have gotten down right after I took the shot? I knew better. My husband taught me better. But that side of me that occasionally takes over my common sense took control that morning. And I had no one to blame but myself if we couldn’t find my buck.

To say I didn’t sleep that night would have been an understatement. I tossed and turned worrying about him injured and laying out there dying a slow, painful death. Replaying the morning’s events, in my mind, from beginning to end, made me sick from the whole ordeal. I wanted to quit hunting. It upset me that much.

The next morning we all went out looking again but couldn’t even find a tiny blood trail. We ended up calling a friend, who had a tracking dog for help. Bruiser led us straight to my buck in a matter of minutes. By the time we found him, he had managed to make it to the water’s edge by the lake. Coyotes had eaten his back end so the only thing left to salvage was, thankfully, the backstraps.

woman bowhunter shoots buck and then ends up finding it down at the lake the next day

It was a horrible experience and it’s one that I will never forget. I could have avoided it if I had just listened to some of the best hunting advice I’ve ever received.

Not only did that hunt have a great impact on me but my husband’s unyielding wisdom did as well.

Since then I have branded his advice of WAITING on my heart. I will never forget the lesson that came along making that one crucial mistake. I am now more concise and conscientious as a hunter.

LEARN FROM IT

Every Silver Lining Has A Lesson Attached To It

What I learned, as a result of not listening to my husband’s advice is to WAIT before tracking a deer. Hunting is all about patience. It doesn’t hurry or rush. Nature is the same. It doesn’t hurry either.

Also, that hard lesson reminded me of the importance of regular and consistent shooting practice. The more time you set aside for practice, the better your accuracy will be.

Another incite I gained from this experience was to pay attention to your surroundings and always be ready. Deer move very quickly and can be quiet in front of you before you even realize it.

However, the most critical thing I learned as a result of ignoring what I knew to be true, is that NOT putting solid hunting advice into play could sacrifice the very thing you’ve worked hard to achieve. Not only could it cost you a successful harvest. But even worse, not heeding to good instruction could cost you your life.

painted deer skulls with spray paint

Painting Deer Skulls With Spray Paint For Both Displaying and Fun

A Creative Alternative For Your European Mount And Dead Heads You Find In The Woods In The Spring

I love going shed hunting. It’s one of my favorite things to do in the spring. Although I don’t have the best success rate of finding them, I do have a good success rate of finding dead heads. But mostly I like preserving them to appreciate for years to come. One way I do that is by spray painting the deer skulls and hanging them up to display.

A couple of years ago I paid someone to paint my six pointer that I had shot the previous hunting season. She did an amazing job. When the next bow season rolled around and I took another buck. I decided I wanted to try my hand at doing it myself.

I’ll be the first to admit that I am NOT a good painter. I’m not even good at painting walls. But I can use spray paint to create a beautiful deer skull. When I am holding my harvest in my hands I know how much work went into that hunt. It just feels like the right thing to do. To honor that deer by using my own two hands to create something I can proudly display.

I’ll be the first to admit that I am NOT a good painter. But I can use spray paint to create a beautiful deer skull.

Painting deer skulls and turtles shells is an easy project to do and so rewarding when you see your finished piece. It’s also a powerful way to get kids excited about nature. I started doing it for fun a couple of years ago after having collected a multitude of turtle shells that I found in the woods. I wanted to find a creative way to display them.

Turtle shells moved on to my buck skulls which moved on to any skulls I found while out in the woods. Below is a step by step video of what works best for me in creating a decorative skull. There are only a few supplies you need to get started: Krylon Crystal Clear Acrylic, Krylon Color Master White Paint + Primer, Krylon Color Master Black Paint + Primer along with your choice of various Krylon Color Master Paint colors.

Painting A Deer Skull With Spray Paint Is Easy

Out in nature is my favorite place to spend my time. I love bringing home treasures from treks through the woods.

My 3 year old granddaughter loves to go out and gather acorns with me for future projects. It’s such a bonding time when you can share your love of nature with future generations.

However, what I love even more is creating something from my finds and then sharing it with others. I would love to share YOUR nature creations. TAG ME in your art and I’ll proudly display it on my page.

Remember that sharing our lives with others inspires them to share THEIRS.

Be An Inspirer!

Easy Venison Pot Pie Recipe: A Family Favorite

A Very Simple Venison Burger Recipe That Will Quickly Become One of Your Family’s Favorites Also

I get asked to make this all the time!!! One of our family’s most favorite venison recipes EVER!!! And believe it or not, it has quite a story attached to it.

How The Recipe Came To Be

Several years ago I had seen a competition online for a women’s hunting and outdoor website and thought it might be fun to enter it. Prizes were involved along with recognition as a female hunter on this particular website. And although I am only a slightly competitive person, I thought it might be fun to step out of my comfort zone and just do it.

There was a long list of “to do’s” and points were earned by checking off the completed tasks.

Contacting businesses in the hunting industry and asking if you could review their products was one of the tasks we were asked to complete. We had to contact the business, ask them to send you THREE products, and then review it and write up a review to leave on the website. We were to keep ONE of the products for ourselves but send the other two to the website putting on the competition. I was on fire as far as contacting companies went. In fact, I am still friends with those contacts today. It was a huge learning experience for me but one that helped me meet people in the hunting circuit.

Another task we were asked to complete was to submit a wildgame recipe of our choice and we were to take a picture of our finished work.

I will interject here and just say that I have a chicken pot pie recipe that was to die for and I made it all the time for my family. I mean I made it at least once a week. It was that good.

Our Kids Can Sometimes Be Our Best Recipe Inspirers

Months prior to the competition, our son, Tyler, had suggested that I take my chicken pot pie recipe and tweak it, subsituting the chicken for deer or venison burger. I had never tried this but it peaked my interest. I was curious how it would compare to my already tried and true recipe. As it turned out Tyler had a good idea and that recipe would end up being a family favorite in our household.

That would be the recipe I submitted.

First, I prepared the pot pie and baked it. Feeling proud, I took a few pictures and submitted them. It worked out well. Because I needed something for supper that night and voila! That part was covered.

The next day I received an email stating that it would be great if I would take step-by-step pictures as I was making my recipe. Okay! Yes, I can do that.

Yet, another pot pie? Sure, no big deal.

Twice As Nice

Although it wasn’t what I planned to do, I baked another one. Step-by-step, picture after picture. I got it done. And yes, my family had to eat pot pie for a second night. They devoured the previous one for dinner the night before followed up by lunch. These are growing boys. It was fine.

Again, I submitted the pictures.

And again, I received another email saying that I would get more points IF I could do a video to show HOW TO make the venison pot pie. Of course I was up for that! How could I not be? I was trying to win.

Third Time’s A Charm

So here I go a THIRD time. I got all the ingredients, set up the camera, and videoed myself preparing yet ANOTHER venison pot pie.

I won’t lie. As much as my family loves my pot pies, by this point they were SICK of it. Three pot pies in three days! That’s a lot of vegetables for boys that don’t like vegetables. However, they were troopers and kept eating everything I kept making.

Long Story Short

I ended up getting second place in the competition, although I held “first” for a very long time. Proudly I can say that although I wore the welcome out of this family favorite, whenever I make it for our grown children they still devour it just like that very first time.

It will be one of those recipes that get passed down long after I’m gone. It thrills me to know that they still get excited when they stop by and I pull one of those pot pies out of the oven. You can bet that they grab a plate and a fork and sit down for a slice. It’s easy to make and I believe your family will love it as well.

A Few Simple Ingredients

All it takes is a very few ingredients to make this tasty venison burger pot pie and I even made a step by step video for you to follow along with. Here is what you need:

1-lb venison/deer burger
1-bag shredded cheddar cheese
2-cans cream of potato soup
1-bag frozen vegetables – cooked
2-Pillsbury crusts (top and bottom)

The Steps In Making Venison Pot Pie

Preheat oven to 350

1. Brown burger
2. Mix remaining ingredients thoroughly together
3. Fill into bottom crust and then put on top crust
4. Bake approximately 45 minutes or until nicely browned
5. Let cool and then cut

Watch The Video

Below is the step-by-step video in case you get stuck on what to do. By the way…YOU’RE WELCOME :).

This is such an easy recipe to make your family and takes literally and hour and a half at the most, including baking time. Even though I have friends that don’t like the taste of deer meat (or so they think), I always get rave reviews from them on this venison recipe. If you’re a mom like me that has many irons in the fire, this dinner classic will become a family favorite in your house. I can almost promise that.

xoxoxo

Kelly